Buy a token
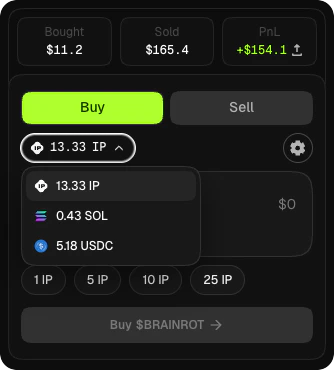
Pick your pay asset
Choose $IP, $USDC, or $SOL from the asset selector. If you pay with SOL or Solana USDC, the app bridges it to Story via Relay before the swap — you’ll see the estimate before you sign.
Enter the amount
Type how much you want to spend. The panel shows the estimated tokens you’ll receive and the fee.
Sell a token
Enter the amount
Type how many tokens to sell, or use the percentage shortcuts (25%, 50%, 75%, 100%).
Pick your receive asset
Choose which asset you want to receive. If you sell into SOL, the SOL lands in your Solana embedded wallet.
Set slippage
Before confirming a trade, tap the slippage setting in the trade panel. A tight tolerance on a volatile token will cause the transaction to revert if the price moves during the block. Loosen it for large trades or fast-moving markets.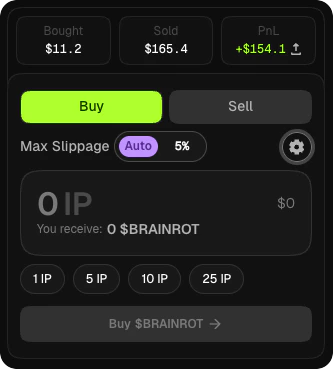
If something goes wrong
User rejected
User rejected
You cancelled the wallet prompt. Just try again.
Insufficient funds
Insufficient funds
You need more $IP for gas, or more of the pay asset you selected. Fund your wallet from the wallet menu or the Quickstart.
Anti-snipe limit exceeded
Anti-snipe limit exceeded
Your trade would push your wallet over the 2% cap inside the 5-minute anti-snipe window on newly launched tokens. Wait for the window to pass or reduce your trade size.
Relay did not complete
Relay did not complete
A SOL or Solana USDC route failed mid-bridge. Your funds stay on the source chain. Wait for the bridge to settle or retry — don’t sign a replacement until the original has resolved.